by
by Before You Start Your Kitchen Cabinets Makeover
Tackling a kitchen cabinets makeover is exciting — but let’s be honest, it’s not all paint swatches and perfect Pinterest boards. Cabinets can be tricky. You’ll face hidden grime, uneven surfaces, and the temptation to rush through prep work.
The good news? Every common problem has a smart solution if you plan ahead and stay patient. Here’s a little real-talk advice to help you avoid headaches and finish strong.
Common Challenges (And How to Handle Them)
– Sticky residue or grease build-up: Clean cabinets thoroughly with degreaser before sanding or painting.
– Paint drips and brush marks: Use a foam roller for smoother surfaces. Always do two thin coats instead of one heavy one.
– Hardware not lining up: Mark and pre-drill all screw holes before installing new knobs or handles.
– Doors sticking after painting: Leave plenty of drying time between coats.
Quick Pro Tips
– Test your paint or stain on a hidden spot first.
– Number your cabinet doors and drawers before removal.
– Invest in a good angled brush.
– Keep a damp rag handy to wipe mistakes fast.
Do’s and Don’ts for a Smooth Makeover
| ✅ Do | ❌ Don’t |
| Deep-clean every cabinet surface before painting | Skip prep to ‘save time’ |
| Label all doors and hardware with tape | Toss everything into a random pile |
| Use primer if you’re painting over wood or laminate | Paint directly onto shiny surfaces |
| Allow full drying time between coats | Stack or close doors too soon |
| Keep the space ventilated while working | Forget to protect your floors and counters |
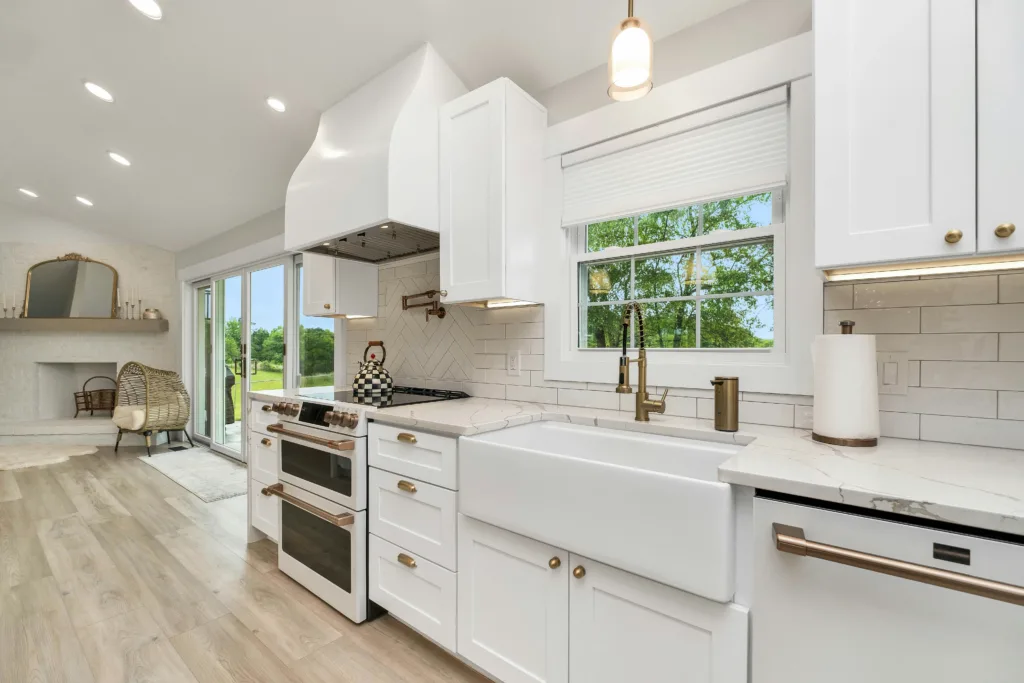
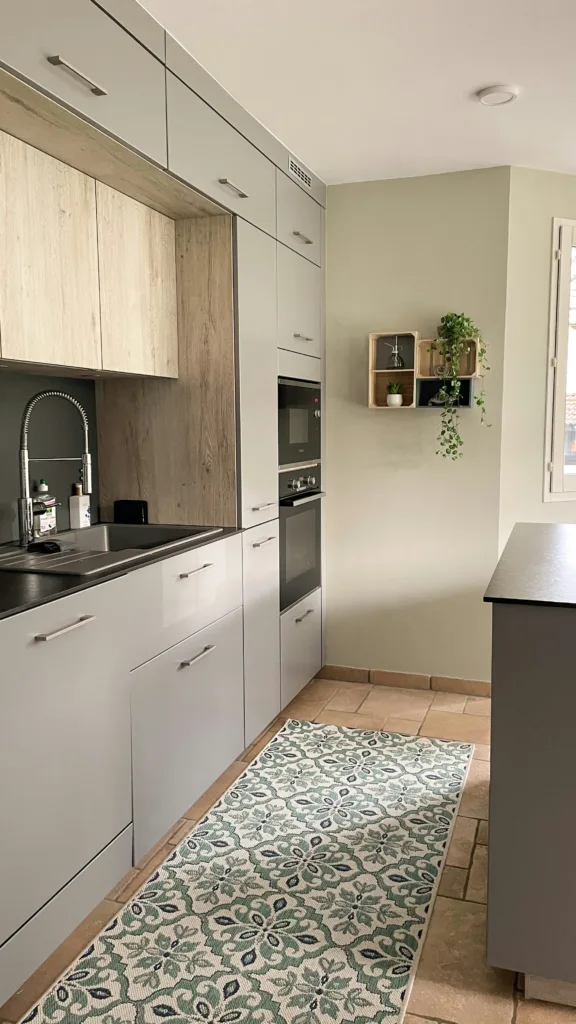
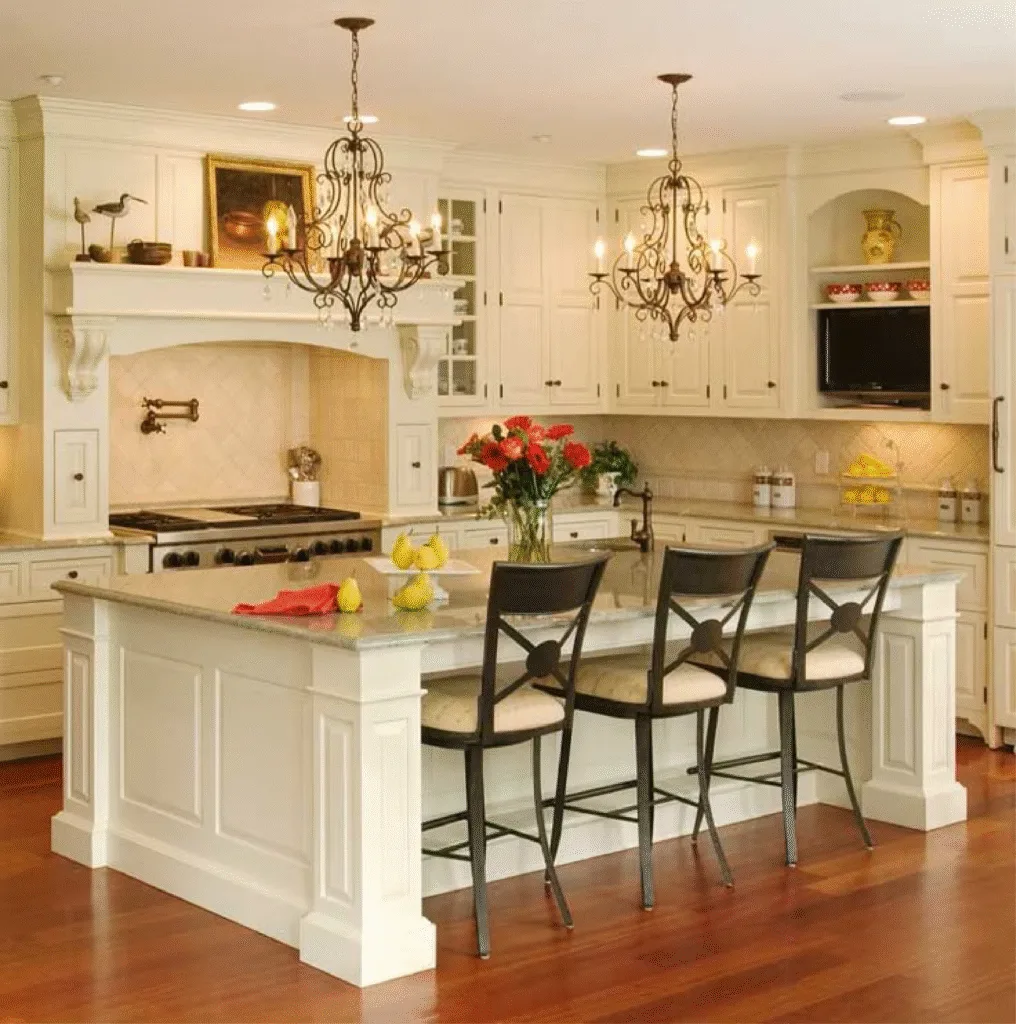
Brighten Your Cabinets with Fresh White Paint
Painting my cabinets white instantly made the room feel twice as big. It brightened every corner and gave the space a fresh start.
I used a roller and a ton of patience. If you’re craving change but feeling unsure where to start, white paint is always a safe bet.
Fake a Wood Finish with Paint
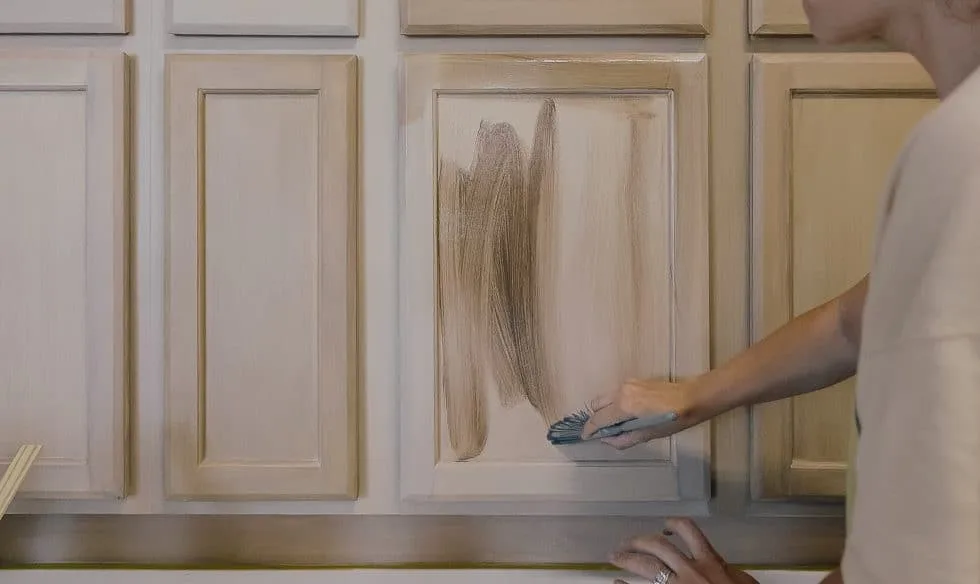
My budget didn’t stretch for new oak cabinets, so I faked it. I used a faux wood grain kit to turn boring laminate into something special.
It’s part technique, part practice. Once you get the hang of the strokes, your cabinets will fool everyone — even yourself.
How to Recreate This:
– Lightly sand cabinet surfaces.
– Apply a wood-toned base coat.
– Drag a wood graining tool through wet glaze.
– Let dry completely, then seal with polyurethane.
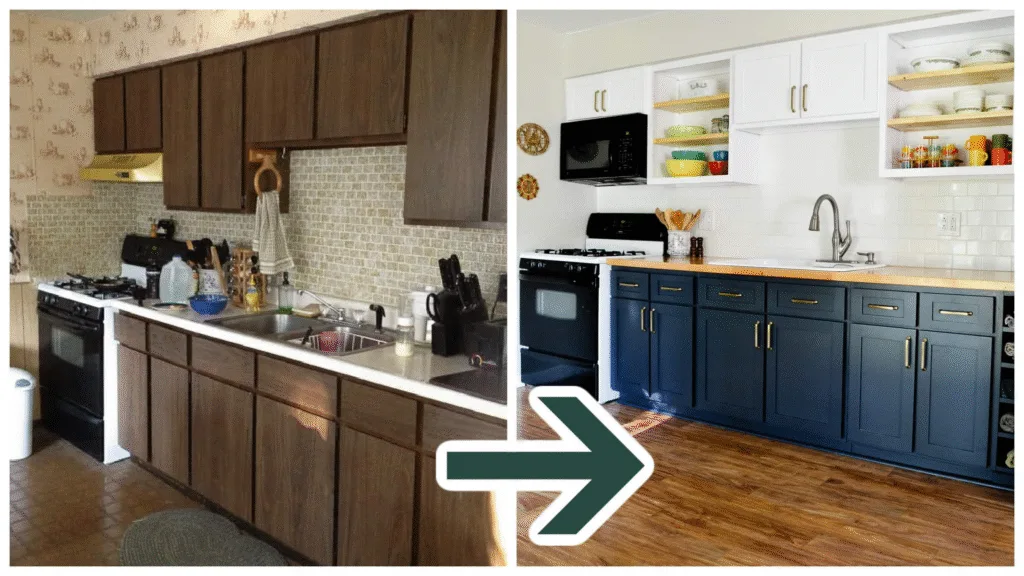
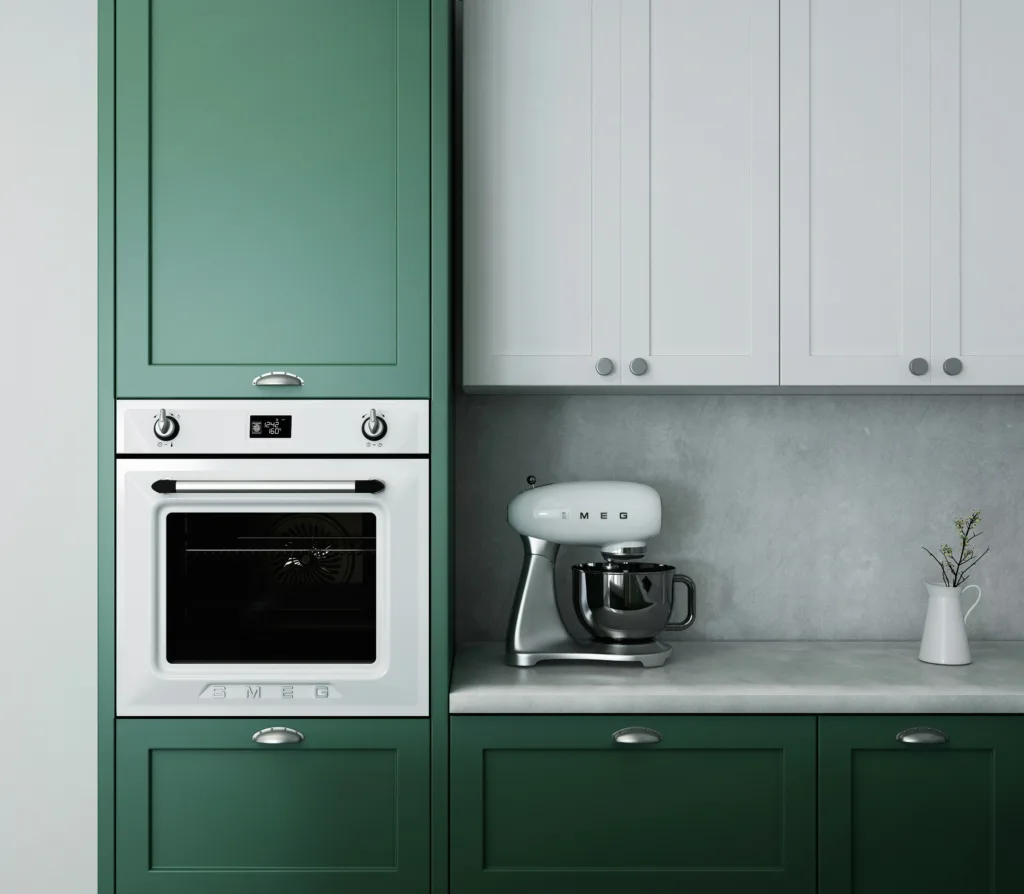
Mix Up Colors with Two-Tone Cabinets
Choosing two colors felt risky, but it paid off. I painted the uppers white and the lowers navy for a grounded, polished look.
It wasn’t hard — just needed a little courage and tape. If you’re bored with plain, try two-tone. It’s a small change with big rewards.
Go Bold with Unexpected Cabinet Colors
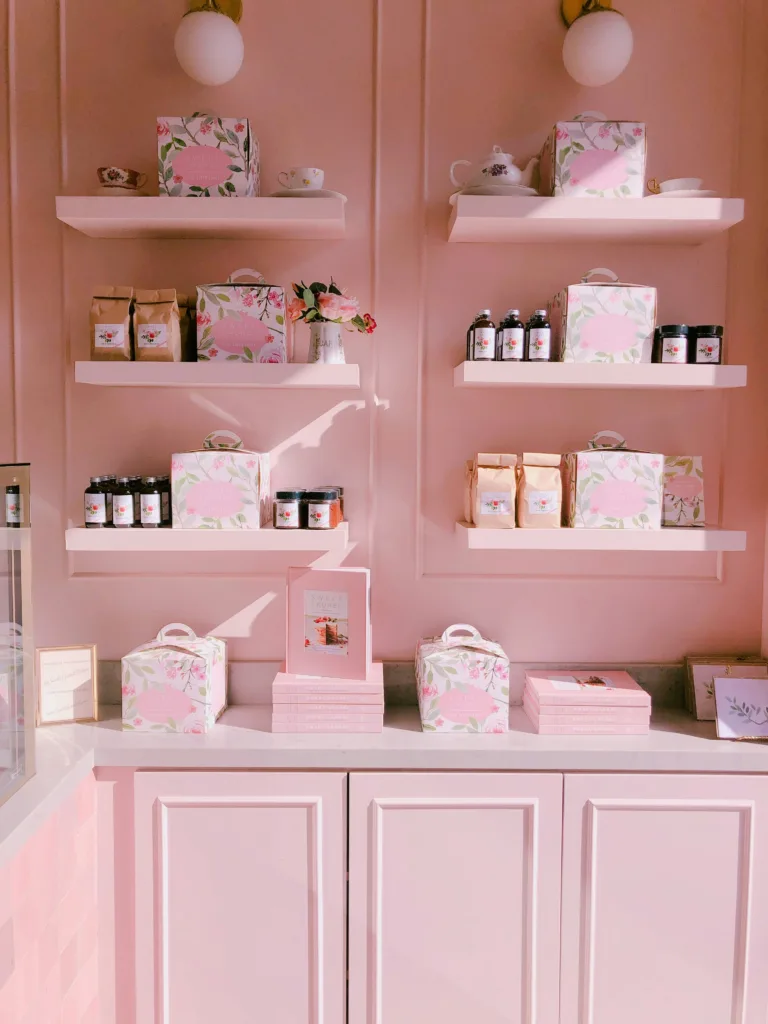
One day, I painted my island a muted pink — and instantly fell in love. Everyone thought I was crazy until they saw it.
A bold cabinet color adds energy and uniqueness. If you ever needed permission to be brave, here it is: paint it!
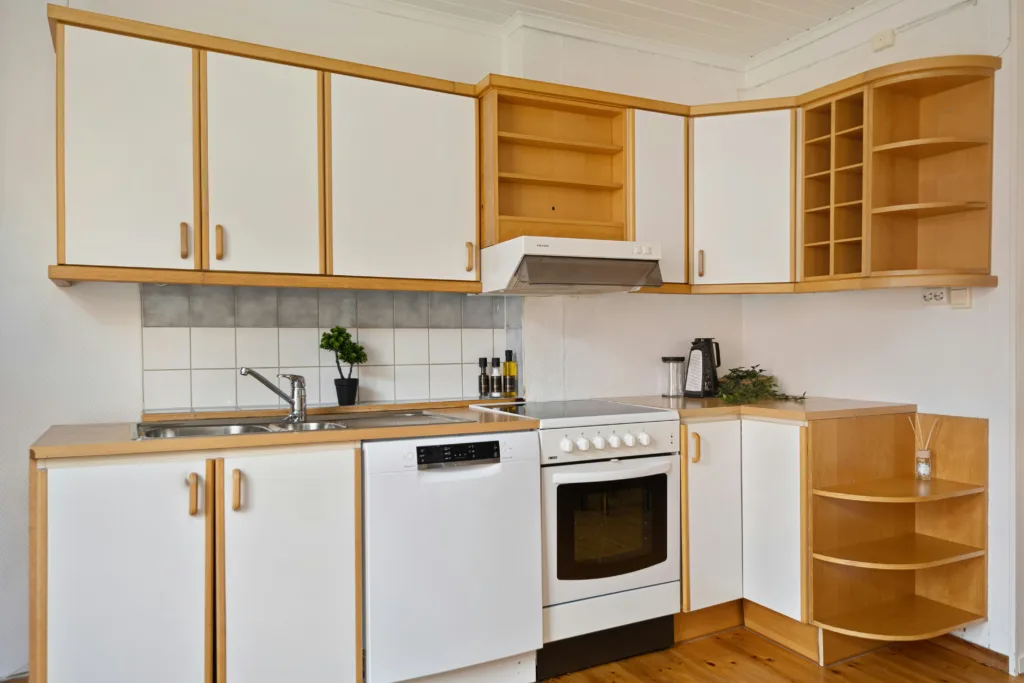
Swap Out Old Doors for a Fresh Look
My kitchen looked new just by swapping cabinet doors. I kept the boxes but changed the faces to simple Shaker style.
No demo, no major mess — and the vibe was transformed. Sometimes, it’s not about rebuilding. It’s about rethinking.
Add Simple Trim to Flat Cabinet Doors
Flat cabinet doors bored me. I added thin wood trim around the edges, painted them, and voilà — instant Shaker style.
It was an easy weekend project that made my kitchen look high-end without spending much. A little creativity goes far.
Stick On a Whole New Cabinet Look

When money was tight, I tried peel-and-stick wallpaper. No mess, no sanding, no regrets.
If you want a fast, rental-friendly makeover, peel-and-stick is brilliant. Just make sure the surface is super clean first.
Finish Cabinets with Crown Molding
Crown molding gave my cabinets that built-in, polished look I always wanted.
I measured, cut, glued, and painted — and the kitchen immediately felt more intentional. It’s those little details that whisper ‘custom.’
How to Recreate This:
– Measure cabinet tops for molding length.
– Cut molding pieces at 45° angles.
– Attach molding with wood glue and brad nails.
– Caulk gaps, then paint to match cabinets.
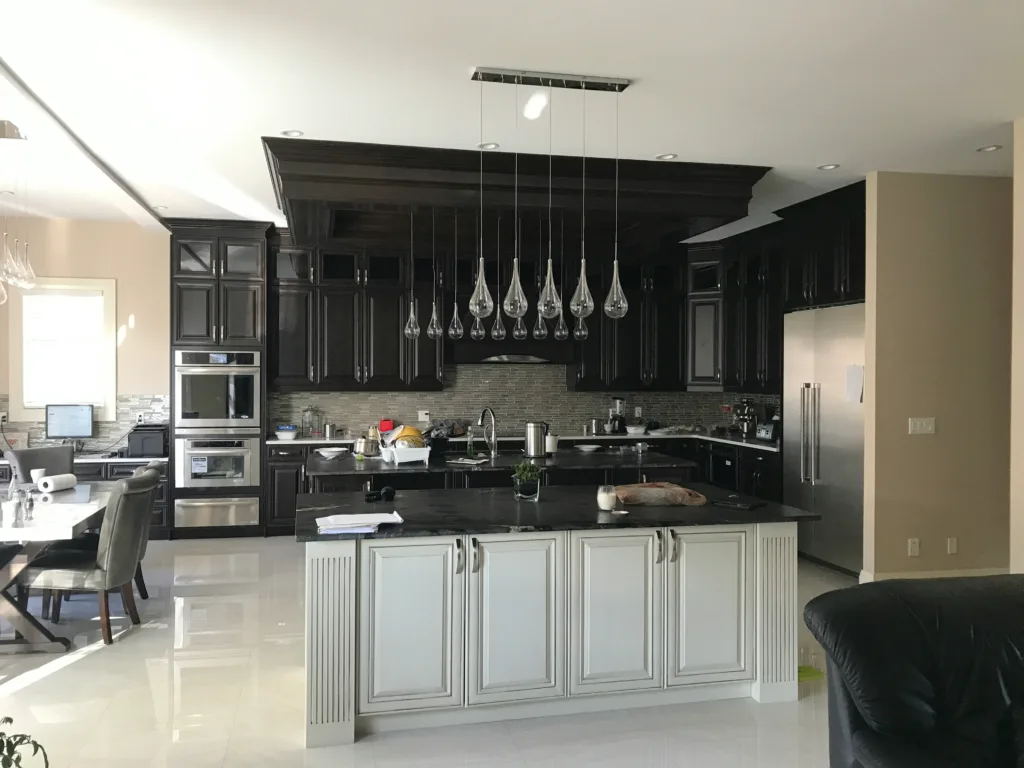
Bring Out the Beauty with Dark Gel Stain
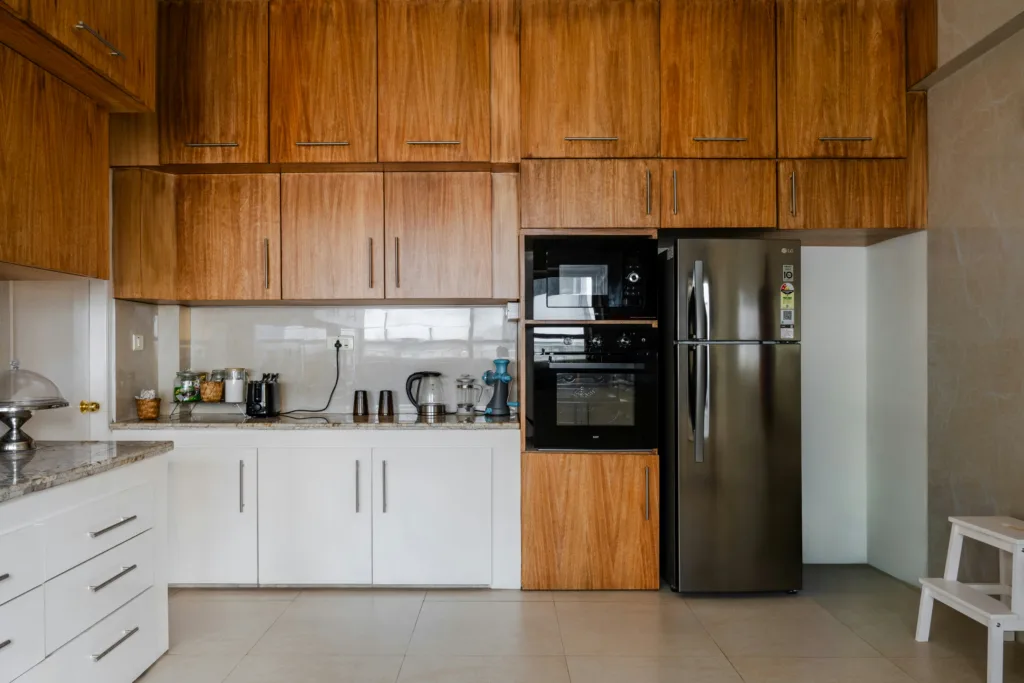
Instead of hiding my oak cabinets under paint, I deepened them with dark gel stain.
It was a little messy, but the wood grain still shows, richer and moodier. If you love natural wood, staining might be your move.
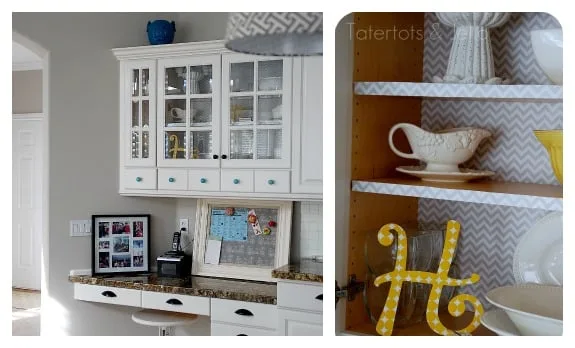
Cut Open Cabinet Doors for Glass Inserts
I was terrified to cut into my cabinet doors, but it turned out great. Glass inserts made my kitchen feel so open.
It’s a little nerve-wracking at first, but the payoff is huge. Plus, it’s a great excuse to buy pretty dishes!
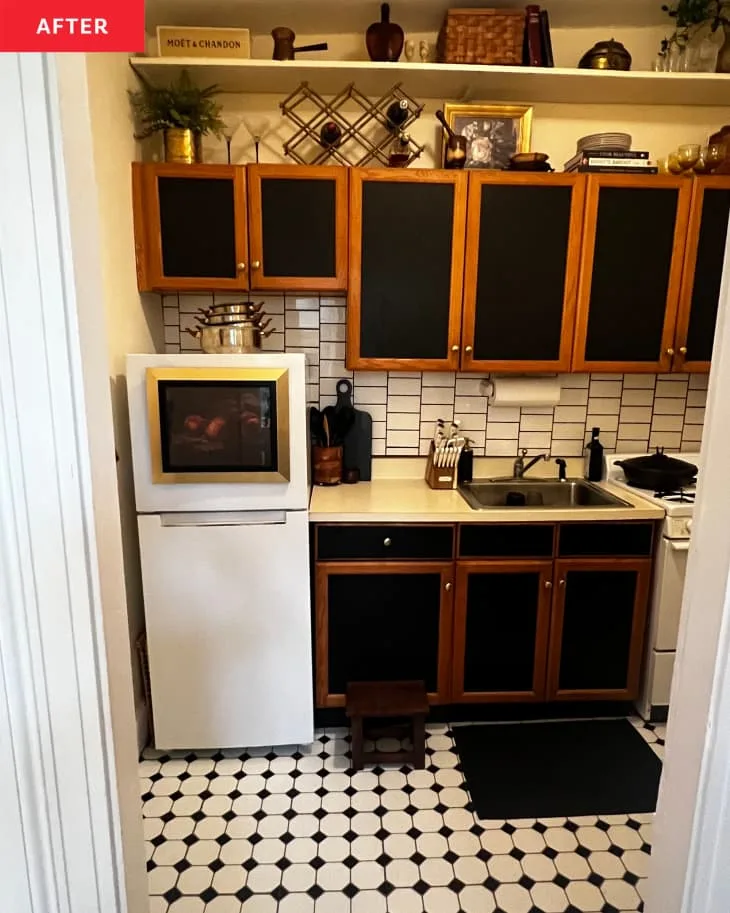
Switch Out Tired Old Hardware
Changing out my knobs and pulls felt like giving the kitchen new jewelry.
I went for matte black hardware — simple but bold. Hardware updates are fast, affordable, and completely transform the vibe.
Stencil the Inside for a Surprise
One rainy afternoon, I painted a stencil pattern inside my cabinet doors. Now every coffee run feels cheerful.
Small surprises like that make a kitchen feel personal and happy. You see them every day, so why not make them smile-worthy?
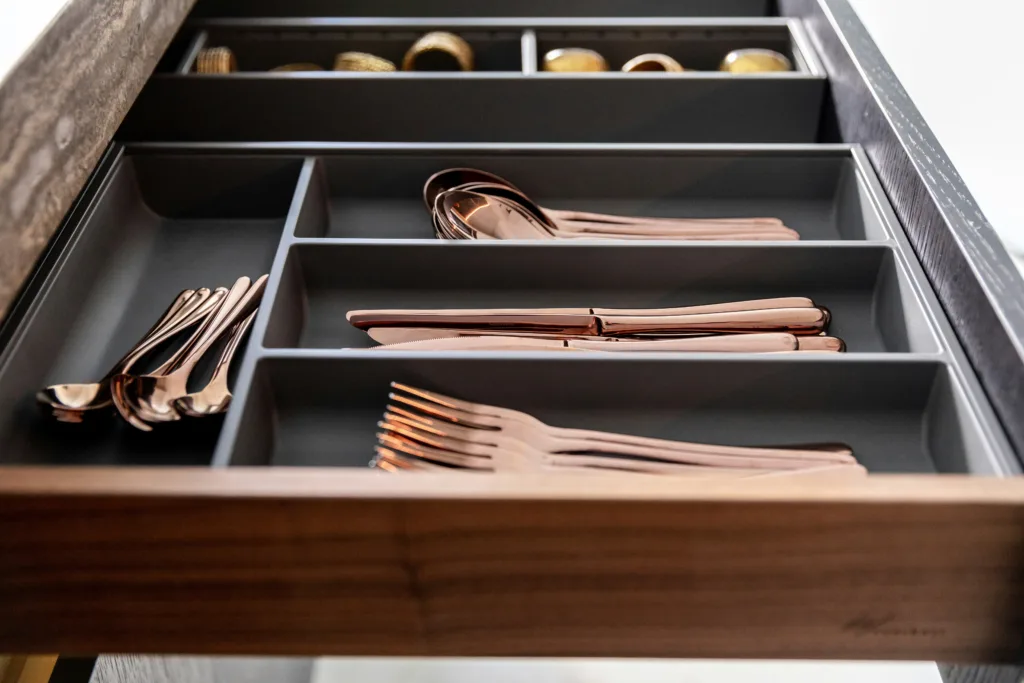
Trade Cabinets for Deep Drawers Below
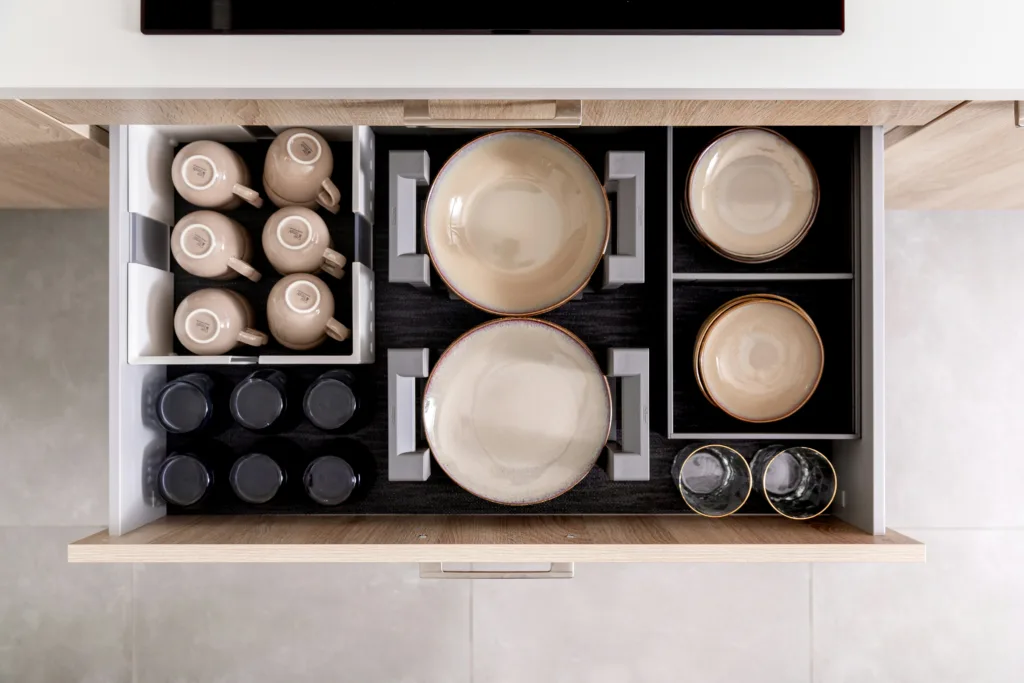
Lower cabinet doors frustrated me for years. Switching to deep drawers changed everything.
Now I find pots and pans easily — no crawling or digging. If you’re renovating even a little, I highly recommend drawers over doors.
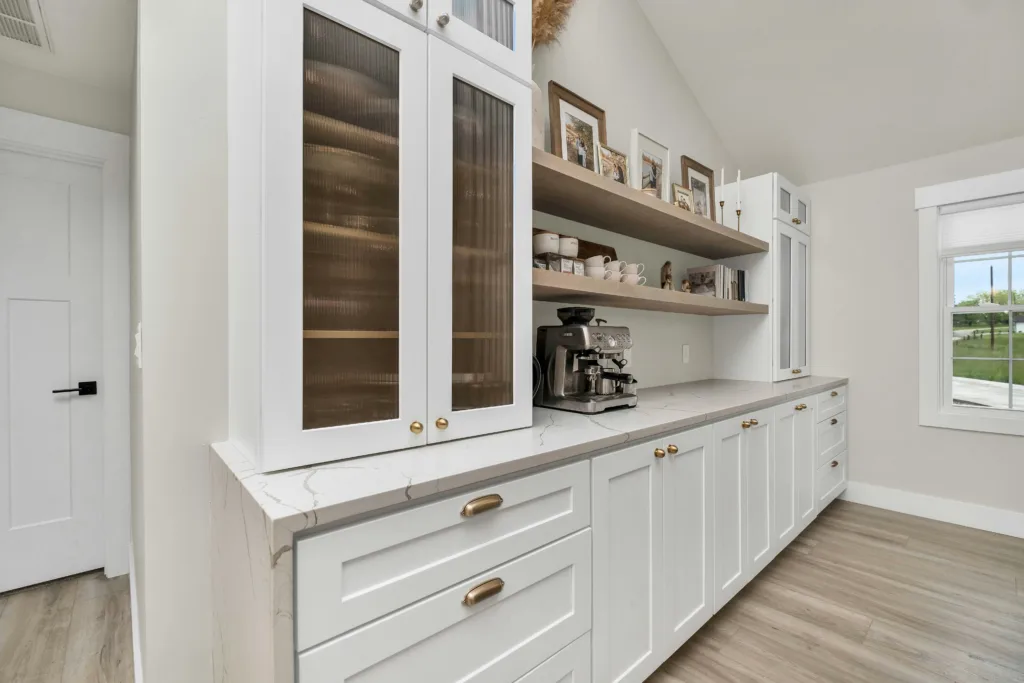
Open Up the Kitchen with Floating Shelves
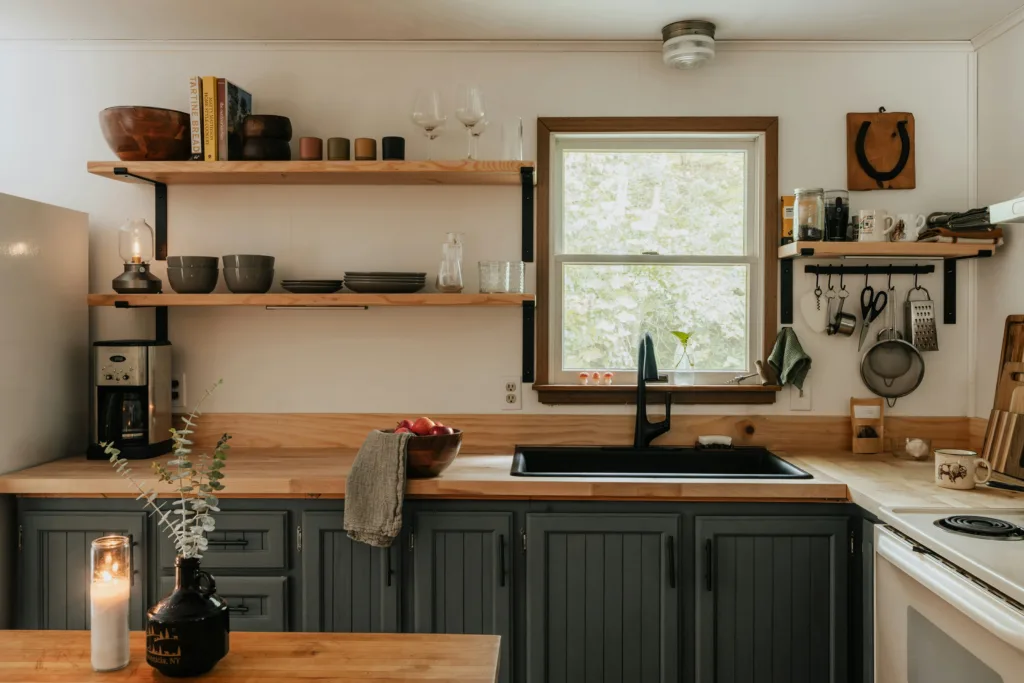
Removing two bulky uppers and replacing them with floating shelves opened up my whole kitchen.
You have to keep them neat, sure — but the visual space you gain is totally worth it. Plus, shelves are way easier to clean!
How to Recreate This:
– Remove selected upper cabinets carefully.
– Patch and repaint wall behind.
– Install strong floating shelf brackets.
– Mount shelves, making sure they’re level.
Try Bold Two-Tone Color Blocking
Instead of subtle , I painted my cabinet two bold tones.
It created depth without screaming for attention. If you love neutrals but crave a little twist, try bold color blocking.
Build Up Cabinets to Reach the Ceiling
I hated the gap above my cabinets. So I boxed them in with trim and molding.
Now they look taller, neater, and way more expensive. Bonus: no more dust collecting up there. It’s like the kitchen finally grew up.
Hide Oak Grain Before Painting

Oak cabinets are stubborn. If you paint without filling the grain, it shows.
I learned the hard way — then redid it properly using lightweight spackle. Smooth cabinets look polished. Don’t skip the prep step!
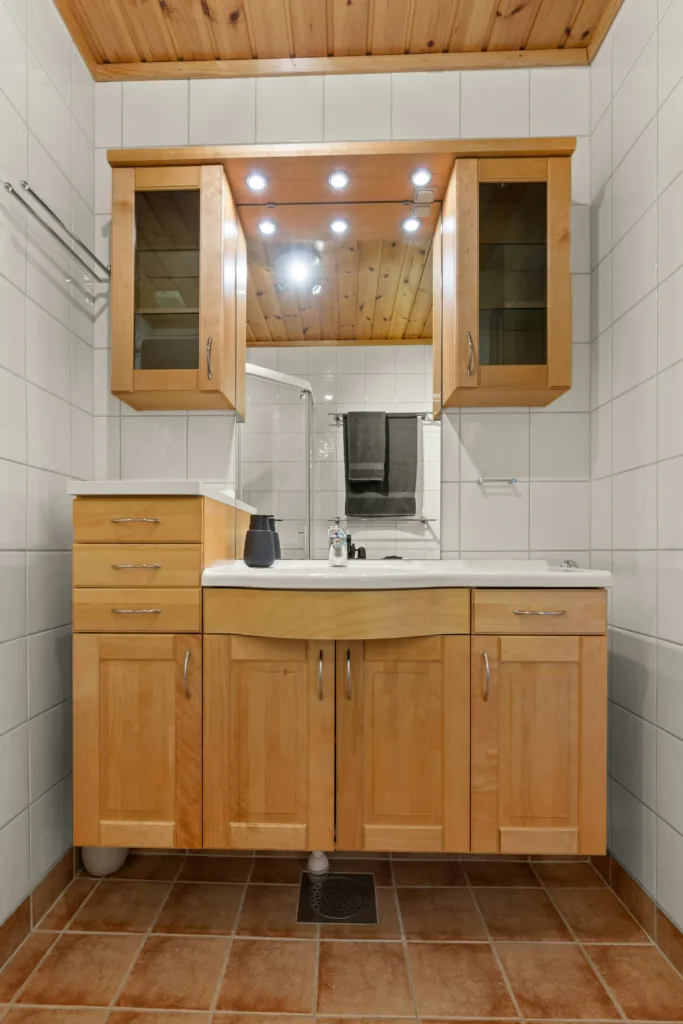
Refinish Natural Wood for a Fresh Start
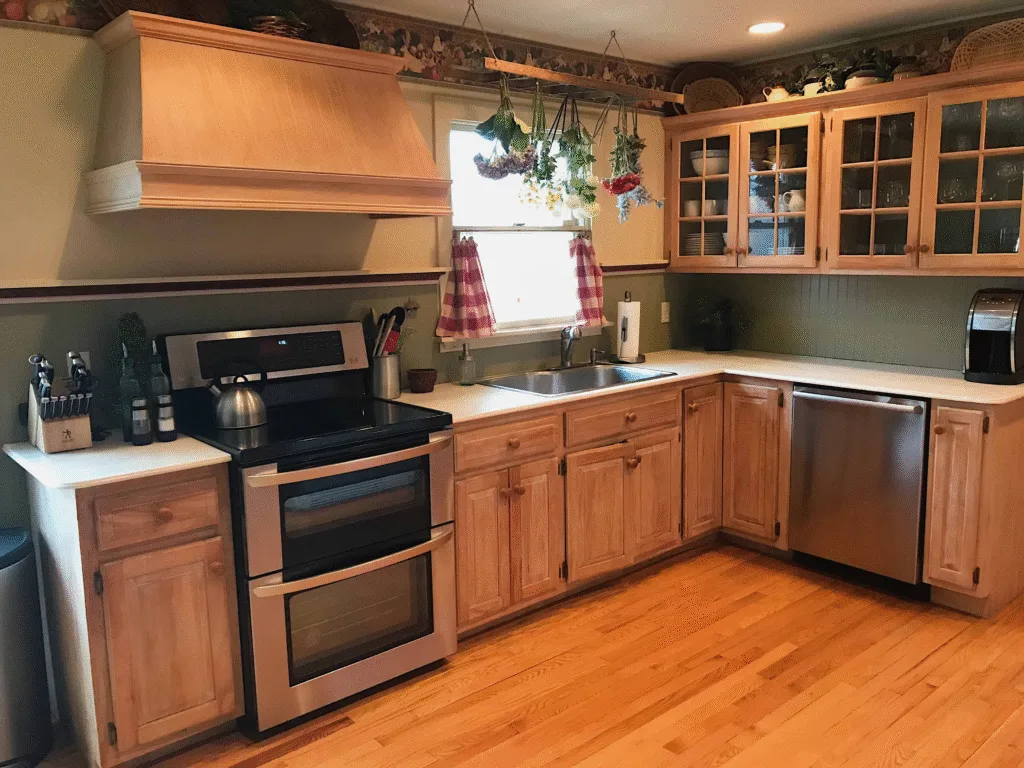
Before grabbing paint, I tried sanding and re-staining my cabinets.
Keeping the wood grain but changing the color made the kitchen feel warm and timeless. Sometimes preserving what’s good pays off.
Add Pull-Outs to Boost Cabinet Storage
Adding pull-out trays inside my old cabinets made them feel brand new.
No more losing lids or digging in the dark. Installation wasn’t hard, and it instantly doubled my usable storage space.
How to Recreate This:
– Measure cabinet interior width and depth.
– Buy pre-made pull-out tray kits.
– Drill pilot holes and attach rails.
– Slide trays into place and test movement.
Dress Up Cabinets with Decorative Feet
Installing furniture feet under my cabinets made them look custom-built.
It was a small weekend project with a huge payoff. Now my island feels like a real piece of furniture — elegant, not ordinary.
Conclusion
Looking back, my kitchen cabinets makeover wasn’t just about paint or new hardware — it was about finally making the space feel like mine. It’s easy to get overwhelmed by Pinterest-perfect kitchens, but real progress happens one smart decision at a time. Whether you’re tackling a full repaint or just swapping a few knobs, every little change moves you closer to a kitchen you actually love being in. Don’t overthink it. Trust your gut, take it slow, and remember: you’re allowed to make it perfectly imperfect. That’s what makes it yours.